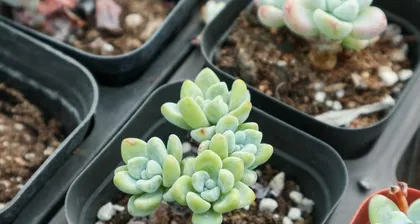
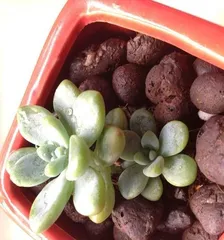
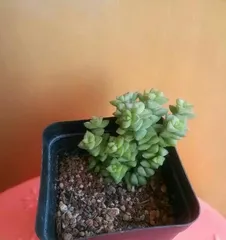
For those who love green plants, whether flowers or leafy greens, there's an indescribable charm. As a very popular leafy plant, Ruellia performs well both indoors and outdoors. However, many people have unclear and inaccurate knowledge about repotting and caring for Ruellia. Below, let's share the correct time and methods for repotting Ruellia.
I. Reasons for Potting Ruellia
II. When to Change Ruellia's Potting Soil
III. Prepare the Necessary Materials and Tools
IV. Choosing the Right Pot
V. Selection and Ratio of Potting Soil
VI. How to Repot Ruellia Correctly
VII. How to Water New Potting Soil
VIII. How to Fertilize New Potting Soil
IX. How to Deal with Damaged Roots
X. How to Perform Routine Maintenance
XI. Ruellia's Growing Environment Requirements
XII. Pay Attention to Pest and Disease Prevention for Ruellia
XIII. How to Prune Ruellia
XIV. How to Handle Nutrient Deficiency in Plants
XV.
I. Reasons for Potting Ruellia
Ruellia is a tropical plant with oval, dark green leaves, making it very suitable for potting indoors or on a balcony. Potted Ruellia can be placed indoors, on a balcony, or in a garden. It not only increases air humidity but also beautifies the environment. Potted Ruellia can also purify the air by absorbing harmful gases, which has a good effect on improving indoor air quality.
II. When to Change Ruellia's Potting Soil
When Ruellia's roots start to crowd the drainage holes at the bottom of the pot, and water doesn't drain quickly after watering, it's time to change the potting soil. If Ruellia's leaves start to turn yellow or wilt, it may also mean the potting soil has lost its nutrients and needs to be replaced.
III. Prepare the Necessary Materials and Tools
Materials needed for repotting Ruellia include: new potting soil, a tray or drainage pebbles for the bottom of the pot, and fertilizer. The tools needed are: a trowel, a spade, scissors, etc.
IV. Choosing the Right Pot
Choosing the right pot is a very important step. You should choose a pot of moderate size with good ventilation, preferably one that can be selected according to Ruellia's growth condition.
V. Selection and Ratio of Potting Soil
The selection and ratio of potting soil are very important for Ruellia's growth and care. You can use leaf mold, peat moss, and garden soil as the base, then mix in an appropriate amount of sand or perlite. A common ratio is 2:1.
VI. How to Repot Ruellia Correctly
First, pour the new potting soil into the pot, filling it about one-third of the way. Then, place the Ruellia in the pot and adjust the position of the roots. Finally, slowly pour the new potting soil into the pot, gently fanning the roots with your fingers to ensure the soil fills all the spaces until the pot is full.
VII. How to Water New Potting Soil
After repotting, Ruellia needs to be watered. At this stage, you should not water directly. Instead, use a spray bottle to mist the water, allowing it to be evenly distributed in the potting soil. Also, avoid getting water on Ruellia's leaves and stems, as this can cause mold and disease.
VIII. How to Fertilize New Potting Soil
After repotting, Ruellia also needs to be fertilized. You can choose a liquid fertilizer of moderate concentration, add it to a spray bottle, and then spray it evenly on Ruellia's leaves and roots to promote its growth.
IX. How to Deal with Damaged Roots
During the repotting process, if you find that Ruellia's roots are damaged or rotten, they need to be pruned off. Clean the damaged roots, then use a trowel or spade to smooth the cut surface, and finally replant it in new potting soil.
X. How to Perform Routine Maintenance
Routine care for Ruellia includes: watering, fertilizing, loosening the soil, and preventing pests and diseases. It's important to ensure the potting soil drains fully after each watering and to maintain a well-ventilated environment.
XI. Ruellia's Growing Environment Requirements
Ruellia is best suited for a warm, humid, and well-ventilated environment. The optimal growing temperature is 15°C to 28°C, and it prefers high humidity, typically around 70%.
XII. Pay Attention to Pest and Disease Prevention for Ruellia
During its growth, Ruellia is susceptible to some pests and diseases, such as aphids and powdery mildew. If these problems arise, timely measures need to be taken for prevention and control.
XIII. How to Prune Ruellia
Pruning Ruellia is mainly for beautifying its shape and form, and to keep it growing healthily. Generally, you should decide which parts to prune based on its growth status and shape.
XIV. How to Handle Nutrient Deficiency in Plants
During its growth, Ruellia may also experience issues like nutrient deficiency, such as root rot or yellowing leaves. In this case, timely measures should be taken to adjust, such as appropriate watering and fertilizing.
XV.
The correct time and methods for repotting and caring for Ruellia are crucial for its growth and health. I hope this article can provide some help, allowing you to better create a green corner.