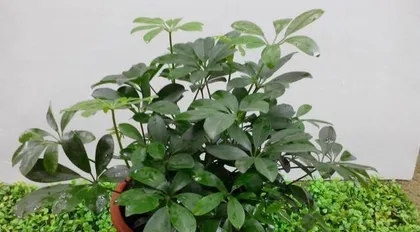
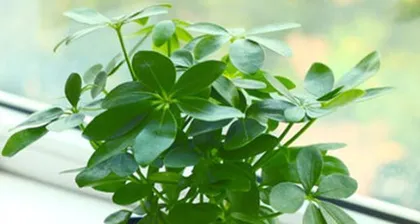
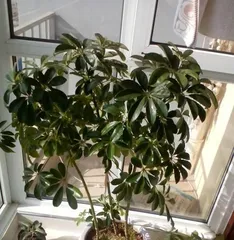
Schefflera is a very popular indoor potted plant. Over time, it will gradually grow and expand its root system. In this case, proper repotting is very important. The correct repotting process can ensure your plant continues to grow healthily and provides it with a better growing environment. Next, we will introduce in detail how to correctly repot your Schefflera.
I. Prepare Materials
Before repotting, you need to prepare some materials. This includes a new pot, enough soil, clean water, and tools like scissors. Please ensure that your materials are clean and free of any harmful substances.
II. Choose the Right Pot
After you have prepared the materials, the next step is to choose a suitable pot. The size of the pot should be larger than the original pot. If you want the plant to grow quickly, you can choose a pot that is significantly larger. If you want to control the growth rate, you should choose a pot that is only slightly larger.
III. Clean the Pot
Before using a new pot, it should be washed first. Cleaning the pot removes impurities and residue, and also reduces the risk of the plant being infected by bacteria and pathogens.
IV. Handle Old Potting Soil
When you take the Schefflera out of the old pot, you need to remove the old soil. You can gently clean the old roots with your hands or scissors. This will give you a better understanding of the plant's growth condition and provide it with a better growing environment.
V. Prepare New Soil
After choosing the pot and cleaning the roots, the next step is to prepare new soil. The new soil should be rich in organic matter and nutrients. You can buy special potting soil from a local florist or mix it yourself.
VI. Fill with New Soil
After preparing the new soil, the next step is to pour it into the pot. Please note, do not fill the pot to the brim. It is best to leave some space at the top so that the roots have enough room to grow.
VII. Install the Plant
When the new soil is filled, the next step is to install the plant in the pot. Please note that when installing the plant, the roots should be completely covered with new soil, and the soil should be gently tamped down.
VIII. Watering
After the plant is installed, the next step is to water it. Please note, do not overwater, and do not let water stand at the bottom of the pot. It is best to wait a few minutes after watering and then pour out the excess water.
IX. Adjust the Position
After you have completed the above steps, you should put the Schefflera back in its original position. If you want the plant to grow better, it is best to place it in a sunny location.
X. Avoid Moving
The Schefflera after repotting needs some time to adapt to the new environment. During this time, you should not move it frequently. If you must move it, it is best to move it to a location more suitable for its growth.
XI. Fertilizing
The Schefflera after repotting needs some time to adapt to the new environment. During this time, it is best not to fertilize it. Wait until the plant is fully adapted to the new environment before applying fertilizer appropriately.
XII. Regular Watering
Regular watering can keep the soil moist and also provide the plant with necessary nutrients. In the first few weeks after repotting, it is best to water it every few days.
XIII. Observe Carefully
In the days after repotting, you should pay close attention to the growth of the Schefflera. If you find that its growth is abnormal, you should take timely measures.
XIV. Prune Branches
In the weeks after repotting, the Schefflera may have some unnecessary branches. You can use scissors to prune these unnecessary branches.
XV.
Correct repotting can provide a better growing environment for your Schefflera, enabling it to grow healthily. Please pay attention to the above steps and closely monitor the growth of your Schefflera. Only in this way can you ensure that your plant continues to grow healthily.